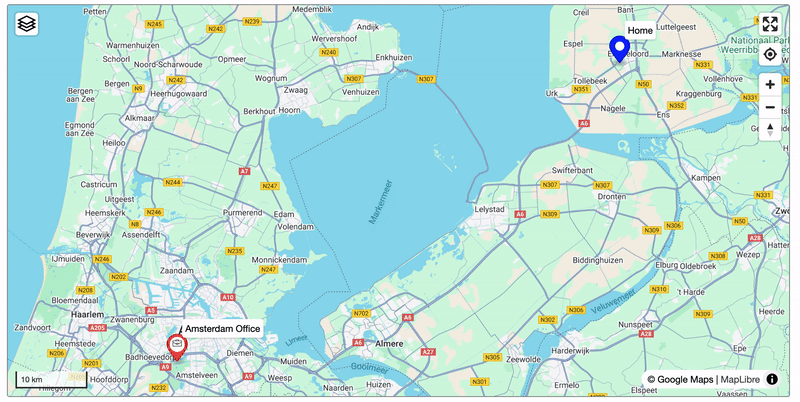
Map

The Map Control enables users to visualize documents on a map based on their geolocation field values. Each document is displayed as a marker on the map. Unlike the Tab Control and Collapsible Control, the Map Control requires a dataset to be specified in its properties.
Users can interact with markers by clicking or tapping to select them. To select multiple markers, users can hold the Shift key while clicking additional markers. When configured correctly, selecting a marker will open the corresponding document.
By default, the Map Control Web utilizes OpenStreetMap (OSM) unless a Google Maps API Key is provided in the environment configuration. On Mobile, it is always Google Maps.
Configuring the map control
To add a map control to the layout, simply drag a map control from the Generic Controls bar on the left-hand side. After adding the map, it will have a overlay. This is an indication that it does not yet have a dataset assigned to it.
Upon dropping the map, the properties pane will open on the right. Here, you can configure a range of properties that apply to the control as a whole.
The map control has the following properties:
Name (Required) This is used to reference the grid in (for instance) a menu path or a filter. The control name should be unique within a layout. Display Condition A condition to determine whether this map should be displayed. Use BizzStream expressions for dynamic conditions. Disabled When enabled, this will make the map non-interactive for the user. Dataset (Required) The dataset containing the documents you want to plot on the map. Note that currently only list datasets are supported. Marker Location (Required) The geolocation field containing the location you want to plot on the map. Show Labels on Map? If this option is enabled, labels will appear next to the markers on the map, displaying the names set in the Marker Label property. Marker Label (Required) This label will be visible to the user as the labels of the markers on the map. Use BizzStream text expressions to make it dynamic. Marker Actions Define actions that should be triggered when a marker is clicked. For example, opening Google Maps to navigate. Default Marker Color (Required) The color of the marker if no dynamic color is defined. Accepts standard color values. Default Marker Icon Specify a default icon for the markers. If no dynamic icon is provided, this icon will be used for all markers.. Row Highlight Conditions (Dynamic Marker Colors) Use a BizzStream expression to dynamically set marker colors based on the document data. Dynamic Marker Icon Use a BizzStream expression to dynamically set marker icons based on the document data. Enable Draggable Markers on the Map? When this option is enabled, you will be able to update the marker's position by dragging it around the map. Fit Map to Markers? When this option is enabled, the map will automatically adjust its view to include all markers when it first loads or every 3 seconds if the map is disabled. Zoom (Required) The zoom level for the map. A higher number leads to a more detailed map. If you set the zoom level to 1, a map of the whole world will be displayed. A zoom level of 10 will display an area with a diameter of about 60 kilometers. By default the zoom will be set to 5. Map Center (Required) The coordinates that should be in the center of the map. The combination of the zoom level and the map center determines what the user will see upon opening the layout. |
 |
Using the map control
Users can interact with the map control just like any other map-based application.
Zooming You can zoom in and out by:
- Scrolling your mouse wheel or using your touchpad.
- Using a pinch gesture on your touchpad or in the mobile app.
- Using the zoom buttons in the top right corner.
Moving the Map You can move around the map by clicking and dragging in any direction. On mobile devices, swipe the screen to move around.
Opening a Document To open a document, click or tap a marker. You will see the URL change which you can then use to open a layout with the document selected. You can select multiple by holding Shift.
Mobile
On mobile, this is a toggle. You just tap on the markers you want selected and tap them again to deselect them.
Finding Your Location Tap the Geolocate button and grant the necessary permissions to have the map zoom in to your current location.
Other Controls The map also includes a compass to change orientation, a scale, a fullscreen button, and a few other features, which will be discussed in subsequent chapters.
Mobile
On mobile the controls are different and you use gestures like pinching to zoom in/out.
Keyboard Shortcuts
From MapLibre:
- = / +: Increase the zoom level by 1.
- Shift+= / Shift++: Increase the zoom level by 2.
- -: Decrease the zoom level by 1.
- Shift+-: Decrease the zoom level by 2.
- Up+Down+Left+Right: Pan by 100 pixels.
- Shift+Right: Increase the rotation by 15 degrees.
- Shift+Left: Decrease the rotation by 15 degrees.
- Shift+Up: Increase the pitch by 10 degrees.
- Shift+Down: Decrease the pitch by 10 degrees.
Layout Editor: Interactive Mode
In previous versions of the map control, updating positioning was not very intuitive. To resolve this, we introduced a new feature in the Layout Editor:
Introducing the BizzStream Aero Layout Editor Interactive Mode!

The only control currently supported is the Map Control. Hold down ALT/OPTION and click on the map to enter Interactive Mode.
In this mode, you can interact with the Map Control as it is configured. Move it around, zoom in, and save the layout to set the default location.
Map Styles
If you're using Google Maps, changing the map style is now possible. Want to check traffic conditions? View a satellite perspective? Tap the button in the top-left corner to switch styles:
- Roadmap (Default): Includes a traffic option.
- Satellite: Has a roadmap overlay to display roads.
- Terrain: Shows the terrain of the area (e.g., zoom in on the Alps to see detailed terrain).

Clusters
To improve performance and maintain readability when there are many markers, we cluster them into "cluster markers," which appear as circles with a number indicating the count of markers in the cluster.
Click on a cluster marker to zoom in and view the individual markers.

Mobile
Unsupported on Mobile.
Cluster Size Range
| Points | Circle Color | Circle Radius |
|---|---|---|
| < 20 | rgba(81, 187, 214, 0.6) (Light Blue) | 20 px |
| 20-49 | rgba(137, 220, 245, 0.6) (Lighter Blue) | 25 px |
| 50-99 | rgba(241, 240, 117, 0.6) (Yellow) | 30 px |
| 100-199 | rgba(242, 140, 177, 0.6) (Pink) | 40 px |
| >= 200 | rgba(255, 105, 180, 0.6) (Hot Pink) | 50 px |
Filters
To filter markers on the map, follow these steps:
- Open the Layout Editor.
- Open Dataset properties for the Map Control.
- Create a new Filter Dataset (note: do not set the Map Control to the filter dataset).
- Add filter dataset controls to the layout.
- Save the layout.
Once the layout is refreshed (use CTRL + R for a hard refresh if changes aren't visible), you can apply the filter, and the Map Control will automatically update with more or fewer markers. Clustering will still work.
Marker Styling
To make your map more readable when displaying different types of markers (e.g., trucks vs. service cars), use Marker Styling.
Markers can be customized with a default color and icon. The color is required and defaults to red. Additionally, BizzStream Expressions allow you to change the marker color and icon based on conditions such as status or type.

See the Configuring the map control section for more details on how to set this up.
Mobile
Labels do not show on Mobile. You can see them with the Marker Action Menu.
Marker Action Menu
You can now perform actions on a document directly from its marker through the Marker Action Menu. To set it up, follow the instructions in Configuring the map control.

After setup, right-click on a marker to open the action menu with your configured workflows. You can execute these actions directly from the Map Control.
On Mobile, you can hold a marker to open the action menu and then see the label alongside all the actions to execute. If it doesn't work. Zoom in more and try to hold around area where the pin is pinned.
Enabling Navigation with Google Maps
You can now start navigation directly within the Map Control using the Marker Action menu. By configuring a custom action, you can open Google Maps with directions to a specific marker's location. Here's how to set it up:
Steps to Configure
- Create a New User Action
- Go to the User Actions settings of a document definition and create a new action.
- Set the action type to "Go To URL".
- Configure the URL
- Use the following expression for the action's URL:
https://www.google.com/maps/dir/?api=1&destination={{O["coordinates"].F["latitude"]}},{{O["coordinates"].F["longitude"]}}&travelmode=driving - Replace
O["coordinates"]with the appropriate Geolocation field of your document. - Modify the
travelmodeparameter (driving,walking,bicycling, ortransit) to match your desired transportation mode. The default mode isdriving.
- Use the following expression for the action's URL:
- Add the Action to the Layout
- Navigate in settings to the Layout containing the Map Control where you want to use this action.
- Open the settings for the Map Control and configure the Marker Actions.
- Assign the newly created action to the Marker Action list with icon and label.
Using the Feature
- In the web interface, right-click on a marker within the Map Control.
- You will see the action appear in the context menu.
- Clicking on the action will open Google Maps in a new tab, with the route already set to the marker's location.
Example Use Case
For a marker with coordinates latitude: 52.3429 and longitude: 4.8294: https://www.google.com/maps/dir/?api=1&destination=52.3429,4.8294&travelmode=driving