How to Submit Feedback
Use the Feedback Button when you want to report a bug, share an improvement idea, or request a new feature.
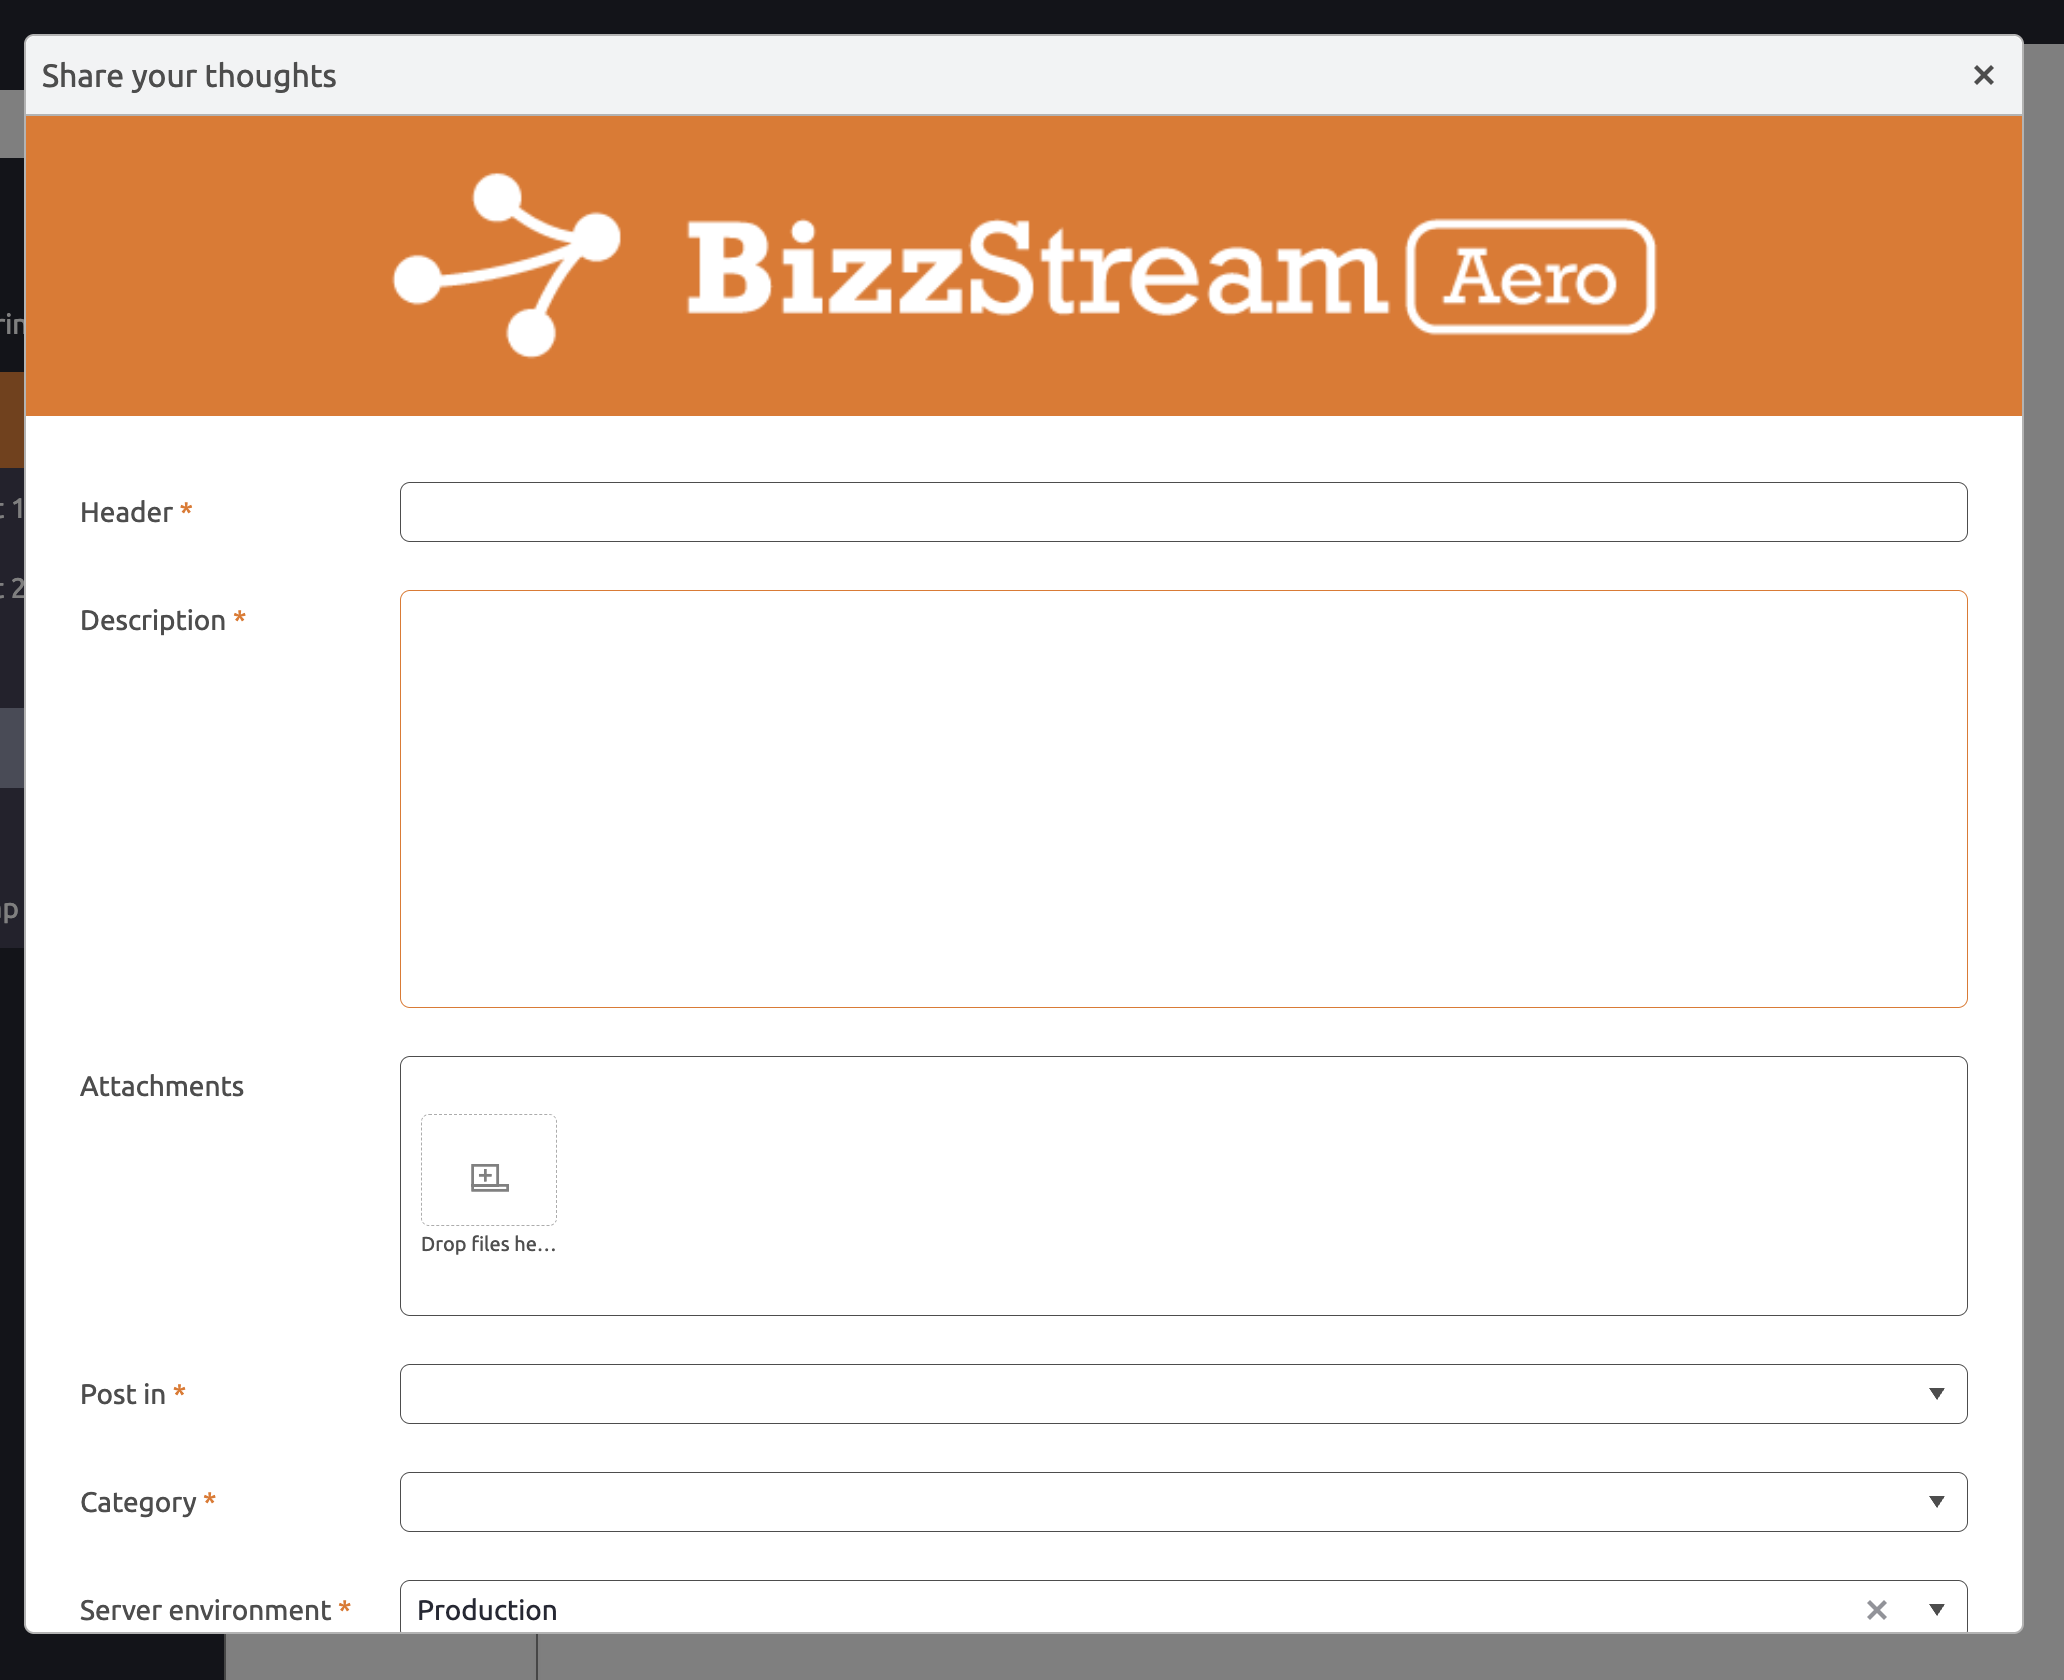
Step-by-step
- Open the Feedback dialog from the Feedback Button in the application.

- Enter a short and clear Header.
- Add a detailed Description with enough context.
- Optionally add one or more Attachments (for example a screenshot or document).
- Select the most relevant Post in type and Category.
- Select the Server Environment and Environment Id on which you report the feedback.
- Fill in the required context fields: User, Reproduction Steps, Document Definition, Layout, Menu, Customer, and URL.
- If needed, add optional Tags to help classify your feedback.
- Submit your feedback.
Feedback Form Fields
Depending on your environment setup, the feedback form can include the following fields:
- Header (required)
- Description (required)
- Attachments (optional)
- Post in (required)
- Category (required)
- Server Environment (required)
- Environment Id (required)
- User (required)
- Reproduction Steps (required)
- Document Definition (required)
- Layout (required)
- Menu (required)
- Customer (required)
- URL (required)
- Tags (optional)
Tips for High-Quality Feedback
- Explain what you expected and what actually happened.
- Include steps to reproduce the issue.
- Add screenshots that show the exact screen and situation.
- Keep one ticket focused on one issue or request.
Attachments
Attachments are uploaded together with your feedback and linked to the created ticket.
Each attachment must be 5 MB or smaller.
You can upload images in most popular formats (for example: .png, .jpg, .jpeg, .gif, .webp).
Other supported file formats include .docx, .xlsx, .zip, .pdf, and .mp4.
Typical examples:
- Screenshot of an error or unexpected result.
- Export file that demonstrates the issue.
- Supporting document with additional context.